 Snowblower Buying & Care
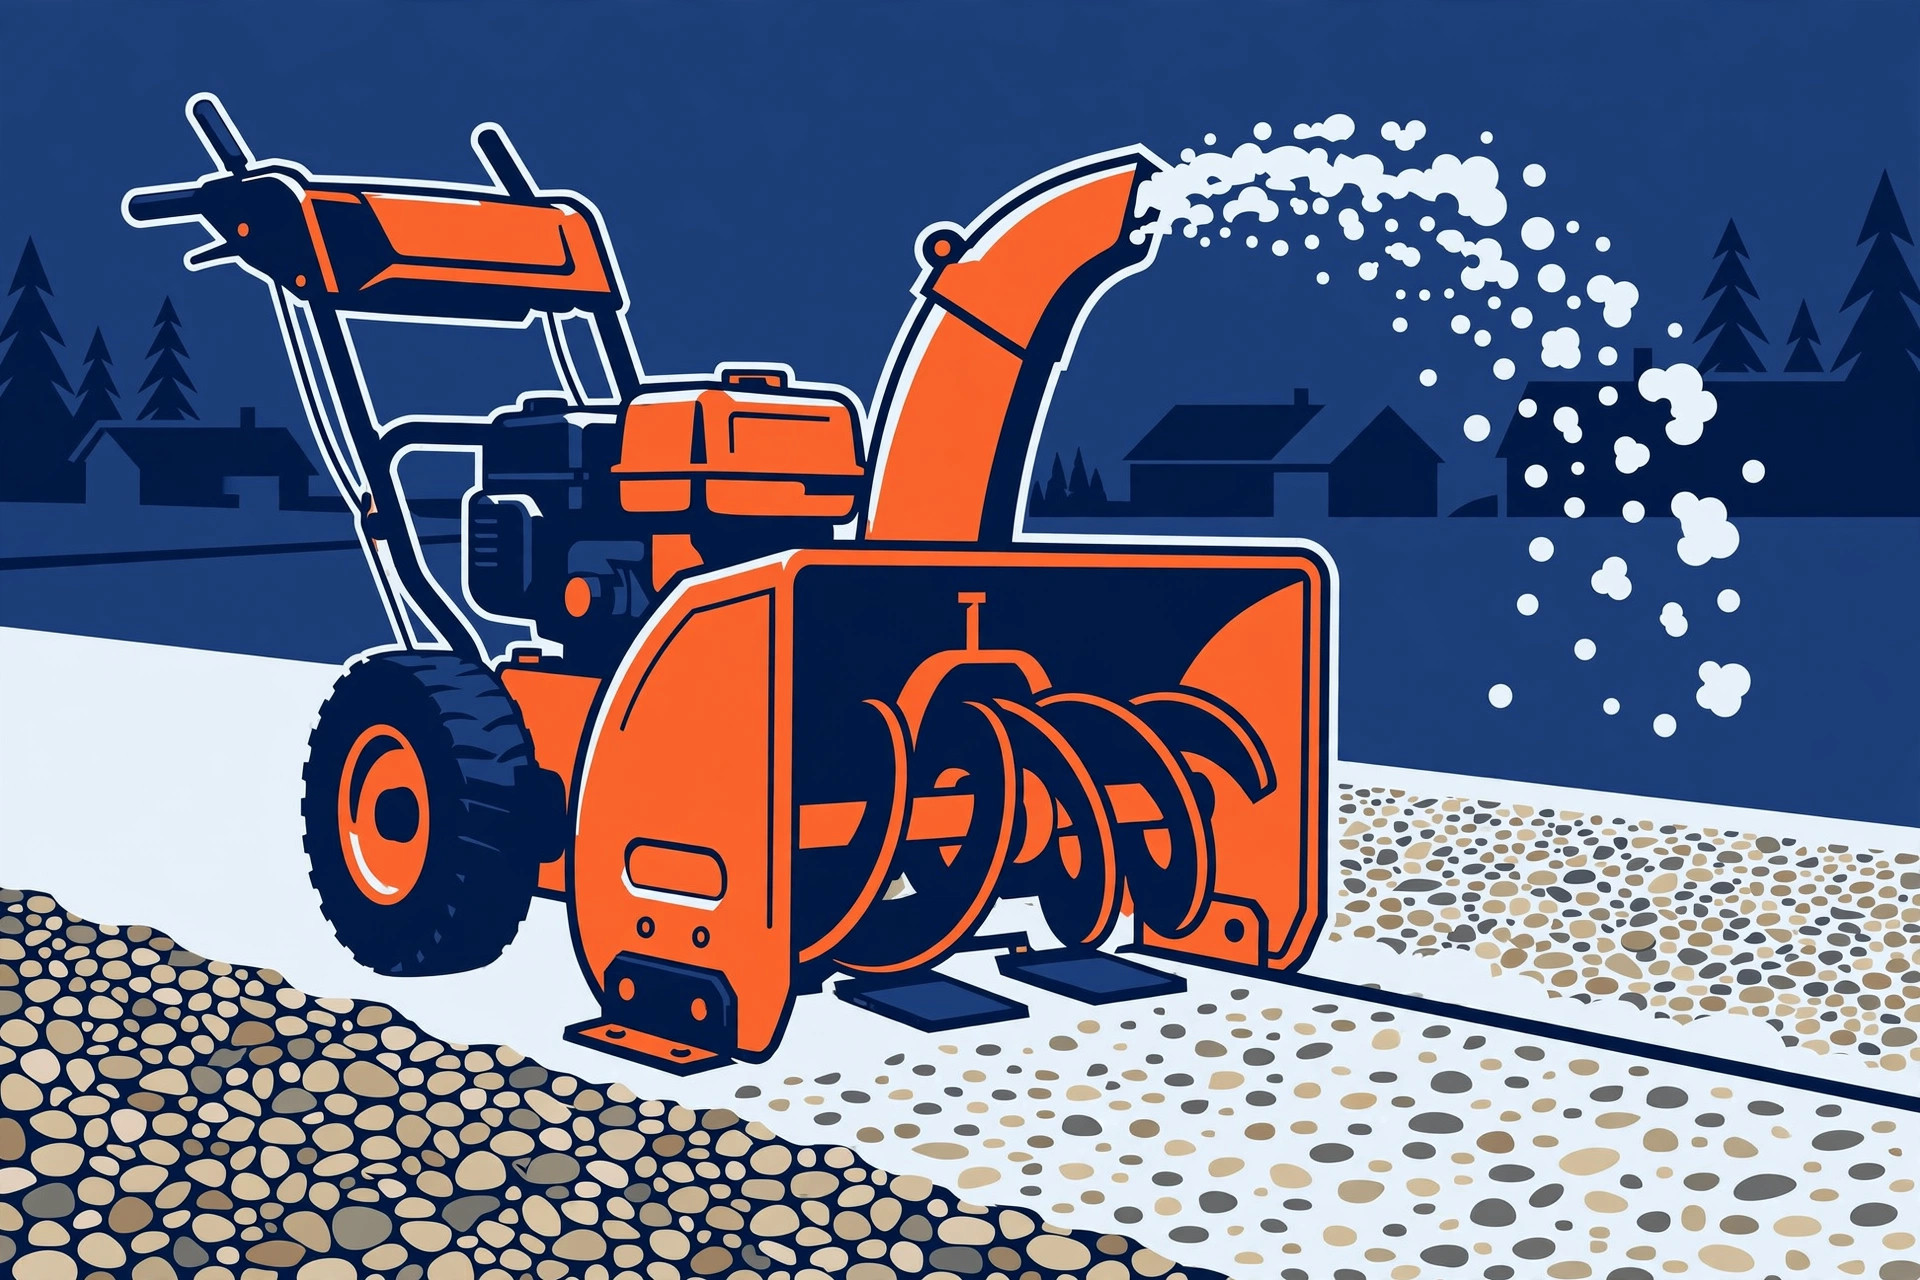
A gravel driveway changes the snowblower question completely. On pavement, the job is to scrape clean. On gravel, scraping clean is exactly what you must not do: a scraper bar or auger running at pavement height will scoop loose stone along with the snow, throw it at windows, vehicles, and anyone nearby, and chew up the surface you will have to re-grade in spring. Done properly, though, a snowblower clears gravel well. The method below is built from manufacturer manuals rather than rule-of-thumb numbers, because — as the manuals themselves show — the rules of thumb disagree with each other.
First, the machine check: not every snowblower belongs on gravel
Before any adjustment, confirm your machine is meant for an unpaved surface at all. The divide is the stage design. A two-stage machine carries its auger inside a housing whose height is set by adjustable skid shoes, so the intake can be raised clear of the stone. That adjustability is what makes gravel use possible.
Many single-stage machines are a different story. Their paddles are designed to contact the ground and help pull the machine forward, and at least one major manufacturer's single-stage manual states it plainly: do not attempt to clear snow from a gravel or crushed rock surface — the appliance is intended for use only on paved surfaces. If your manual says that, no technique in this article overrides it. The honest options are a two-stage machine set up as below, or clearing the gravel section by other means. Start by reading the surface guidance in your own manual; it takes two minutes and decides everything that follows.
Why the clearance numbers you find online disagree
Search for a gravel setting and you will collect confident, conflicting numbers. The conflict is real, and it starts with the manufacturers. Ariens manuals, checked directly for this guide, specify 1/8 inch (3 mm) between the scraper blade and hard, smooth surfaces — but for uneven or gravel surfaces, one Ariens model line specifies 7/8 inch (22 mm) while another specifies 1-1/4 inches (30 mm). Toro's two-stage manual gives the paved figure of 3 mm (1/8 inch) for the scraper and then, for gravel, instructs owners to adjust the skids further down to prevent the machine from picking up rocks, without printing a single gravel number at all.
Two lessons follow. First, there is no universal gravel clearance: the right figure depends on your model, your stone size, and how frozen the surface is. Second, every source agrees on the direction of travel — start high, confirm the machine is not picking up stone, and step down in small increments only if it is leaving more snow than you can accept. A number copied from the internet is a starting guess; your manual's figure, verified on your own driveway, is the setting.
The setup procedure: spacers, level ground, start high
Manufacturers describe the same spacer method, and it is worth doing exactly as written. Work with the engine off and the machine on a hard, flat, level surface — a garage floor, not the gravel itself.
- Check tire pressure first. Toro's manual puts this before any skid adjustment, because under-inflated tires lower the housing and silently change every measurement that follows.
- Choose your spacer. Use a strip of wood or a board of the thickness you want between the scraper bar and the ground — your manual's gravel figure if it gives one. Snapper's manual describes resting the scraper bar directly on a wood strip of the desired thickness; Ariens describes inserting a spacer of the desired thickness under the centre of the blade.
- Rest the machine on the spacer, level. Make sure the scraper bar is parallel to the surface and the housing is sitting evenly, not tipped to one side.
- Loosen both skid shoes and let them drop to the floor. Slide each shoe down until it sits flat on the surface, then tighten the hardware. Ariens and Toro both stress adjusting the shoes equally so the housing stays level.
- Remove the spacer and verify. The gap under the scraper bar should now match your spacer thickness on both sides. If one side is lower, redo that side — an uneven setting digs in on the low side.
- Start high on the first real snowfall. If you are between two figures, use the larger one first. You can step down later; you cannot un-throw a stone.
What success looks like: on the first pass over gravel, the discharge is white. If you hear rattling in the housing, see stone in the thrown stream, or find gravel scattered on the snow beside the driveway, the setting is too low — stop, raise the shoes, and reset before continuing.
Skid shoes are wear parts. Toro notes that excessively worn skids can be turned over so the unused side faces the ground, and Ariens notes its shoes can be flipped before they need replacing. A shoe worn thin quietly lowers the housing toward the stone — check shoe condition whenever you set the height, and replace shoes that are worn through.
The protective layer: what you deliberately leave behind
A raised scraper bar cannot clear to bare gravel, and that is the point. The setting leaves a layer of snow on the driveway, and that layer does real work: it locks the loose stone in place, gives the shoes a smoother surface to ride on, and packs down over the first storms into a firm base that later passes ride over cleanly. Judge a gravel clear by whether the surface is passable and the stone is still on the driveway — not by whether you can see gravel. Chasing a pavement-style finish on gravel is how stones get thrown and surfaces get scalped.
Early in the season, before the ground freezes hard, be especially conservative. Soft, unfrozen gravel shifts under the shoes and lets the housing dip. Keep the setting at its highest while the base builds; a slightly shaggy driveway in November is the price of an intact one in April.
Operating on gravel: pace, passes, and discharge direction
Technique matters as much as the setting. Clear snow as soon as possible after it falls, before traffic packs it down into the stone. Overlap each swath slightly so the raised housing does not leave ridges between passes, and keep a steady, moderate pace — surging into a deep or loose section can push the shoes down into the gravel and dip the intake below its set height for a moment, which is all it takes to ingest stone.
Discharge direction deserves deliberate thought on gravel in a way it does not on pavement, because the stream can carry more than snow. Toro's operating guidance warns that the rotor can throw stones and other foreign objects and cause serious injury, and advises keeping the area to be cleared free of objects and keeping children and pets away from the operating area. Treat the discharge zone the same way: never aim the chute toward people, windows, vehicles, or a neighbour's property, and discharge downwind whenever possible so the stream goes where you intend. Wear eye protection during operation and adjustment — the manuals recommend safety glasses for exactly this thrown-object reason.
Finally, respect the machine's own protection. Shear pins are designed to break if the auger hits something hard, such as a rock, sacrificing a cheap pin to protect the gear case. On gravel, a sheared pin mid-storm is a realistic event, not a freak one — keep the correct spares and the wrench with the machine, as covered in the guide to shear pins, belts and spare parts.
Signs the setting is wrong — and the fix for each
| What you see or hear | Likely cause | Fix |
|---|---|---|
| Stone rattling in the housing or visible in the discharge | Scraper set too low, or shoes worn thin | Stop, raise the skid shoes, check shoe wear |
| Gravel scattered on top of cleared snow | Intake dipping on soft or uneven sections | Raise the setting; slow down on loose stretches |
| Thick, uneven snow left behind | Setting higher than the surface needs, or shoes adjusted unequally | Re-level both shoes; step down one small increment |
| Auger stops turning after a bang | A shear pin has done its job on a rock | Engine off, wait, replace with the correct pin only |
| One side digs in, the other floats | Skid shoes set unequally | Redo the spacer procedure on level ground |
The pattern in the table is restraint: every symptom has a small, mechanical response, and none of them is "push harder." Gravel punishes force and rewards setup.
When to lower the shoes again
The high gravel setting is not necessarily a whole-winter setting. Once the protective layer has packed and frozen into a hard base, the surface behaves more like pavement, and the shoes can be stepped down slightly for a closer clear, in small increments, checking the discharge as you go. The reverse also applies: a mid-winter thaw that softens the base, or fresh loose stone added to the driveway, means going back up. And if the machine splits its life between a paved pad and the gravel drive, the setting belongs to whichever surface you are about to clear — readjusting takes minutes with the spacer method, and it is cheaper than a window.
Fold the check into the habits in mid-winter maintenance: tire pressure, shoe wear, and scraper height are one five-minute inspection, and on gravel it is the inspection that decides whether the next storm is routine or expensive.
FAQ
Can a single-stage snowblower be used on gravel at all?
Only if its manual allows it — and at least one major manufacturer's single-stage manual explicitly limits the machine to paved surfaces. The paddle design contacts the ground by intention, which is the opposite of what gravel needs. Check your manual before assuming.
How much snow should be left on the gravel?
Roughly the gap you set — commonly in the range the manuals print for gravel, from 7/8 inch to 1-1/4 inches depending on model. The leftover layer is protective, not a failure; it packs into the base later passes ride on.
Are poly skid shoes worth it on gravel?
Ariens offers non-abrasive poly skid shoes for delicate surfaces, and poly shoes glide over uneven ground without gouging. They are a reasonable upgrade for gravel, but they do not replace setting the height correctly — a poly shoe at pavement height still throws stone.
What if a stone does get thrown?
Stop, check for damage to people and property first, then inspect the machine: chute and housing for stone damage, auger for a sheared pin. Then raise the setting before clearing another pass — the throw was information about the setup, not bad luck.